Article By Mike Fifer and the Albuquerque , Carnuel & Tijeras RR Copyright ©
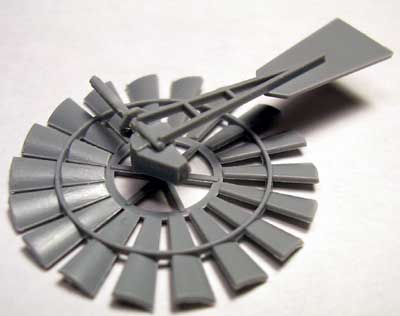
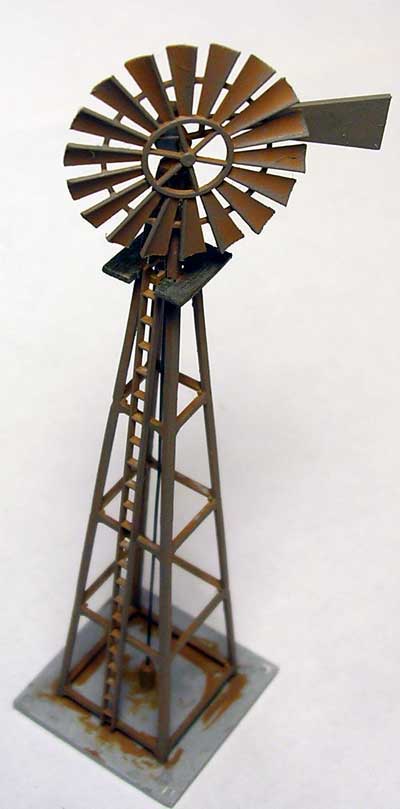
Walthers kit# 933-3801 Vandyke Farm Windmill is an easy quick project with a lot of possibilities. When you open the box you will find enough parts to construct two windmills, and will have a few choices as to the look of the model.
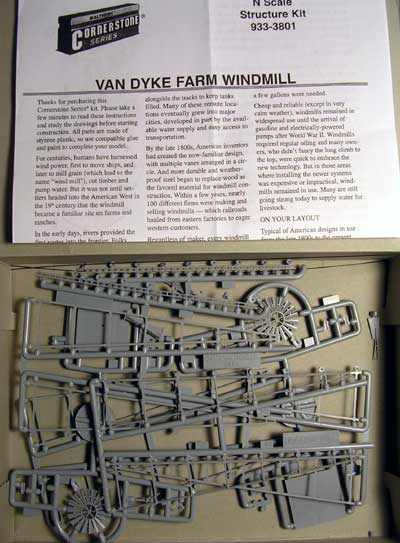
You can build it with the vain out straight or stored to the side and will be able to make then any of 4 heights, 42 1/2 ‘ , 53’ , 65’ , or 75’ in n scale.
I started by surveying the parts and directions.
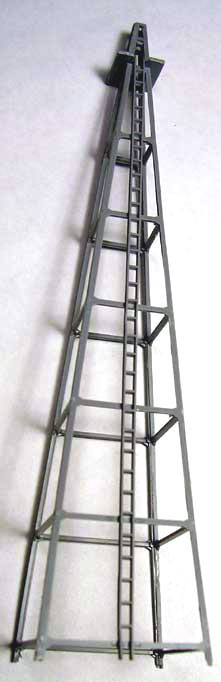
I then removed all four sides from the sprue and trimmed them (using a cheap disposable nail file) then glue all four sides together using liquid cement starting at the bottom of the sides and working up. When you get to the 3rd stringer down stop and find the bearing (part # 3) , spread the top and insert the bearing below the second stringer and then finish gluing on up to the top.
After the tower is constructed, install the platform down over the top into position and glue in place.
Now (carefully!) trim the ladder from the sprue and smooth off all those nasty bumps along the sides of the ladder and place it up through the platform and glue to the side of the tower. At this point the tower is complete and if all the glue is dry you can now smooth the four corners of the tower with the nail file.
Now we can start to assemble the blades, motor, and vain. Trim these parts form the sprues and smooth all with the file.
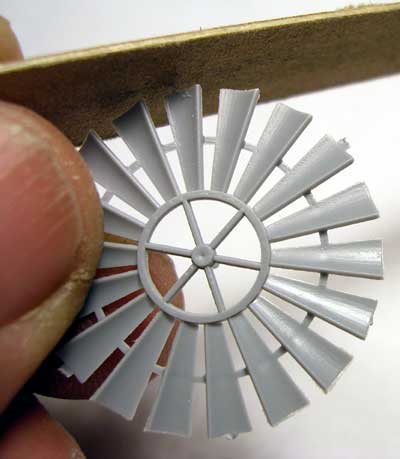
You now must decide if you want the vain stored or out straight and assemble them per directions. The mill itself, is now complete!
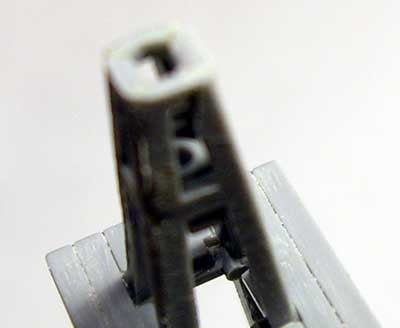
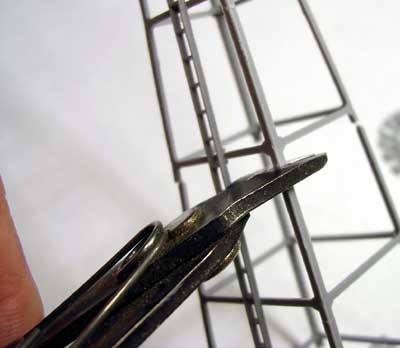
Now we need to go back to the tower and decide how tall you would like it and cut the legs of the tower at the proper marks on the legs (yes there are reference marks on the tower). I use my sprue cutters to trim down the tower to the 53’ marks.
This is a good time to paint the windmill. You can spray the tower and mill silver (for the newly installed look) or do as I did and give the tower and mill a coat of Polly Scale Rust acrylic.
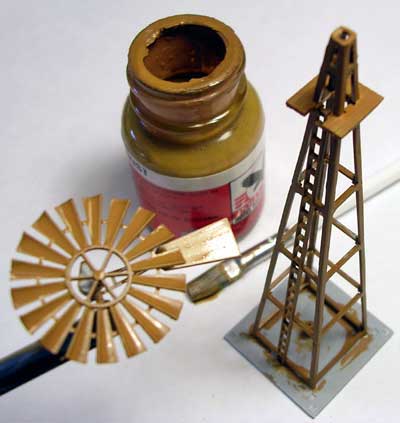
I then used DecoArt Neutral Grey to give the whole windmill a good coating of dry brushing. This gives the windmill the look of rusty galvanized steel.
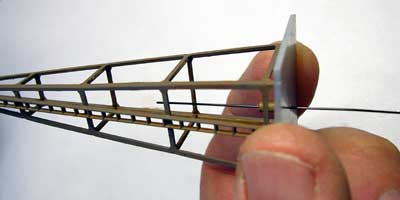
You are almost done! Now glue the two halves of the pipe collar together and glue into the base, glue the tower to the base, insert the supplied wire (pump rod) up through the base up into the bearing at the top of the tower and then trim off under the base.
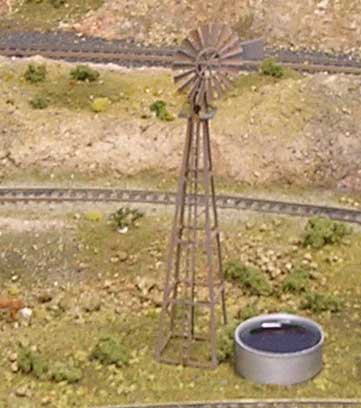
Glue the mill to the top of the tower in your favorite position and you are ready to mount this gem on the layout!
You could add a small water tank or trough. I think it would really work well to use this tower to make an oil rig as well.
Hope I helped and hope you have fun with this kit!
Mike
