This is an easy drop-in install with one small twist. The Digitrax DN163K1C needs to be installed in the Athearn F45 or FP45 frame backwards. This requires you to re-program the decoder to run normally in reverse direction.
This can be done in CV29. A setting of 007 will set the decoder to normally run in reverse and 28/128 speed steps and 2 digit address analog mode on. Setting CV29 to 039 will set the decoder to normally run in reverse and 28/128 speed steps and 4 digit address analog mode on.
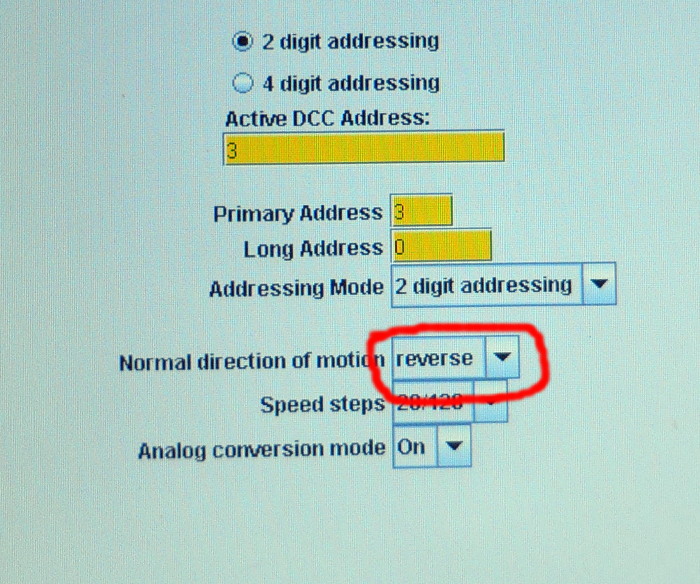
This process is simplified if you are programming with Decoder Pro by JMRI. All that is required there is to just tell the program to set normal direction of travel reversed.
Now let’s get on to installing this decoder.
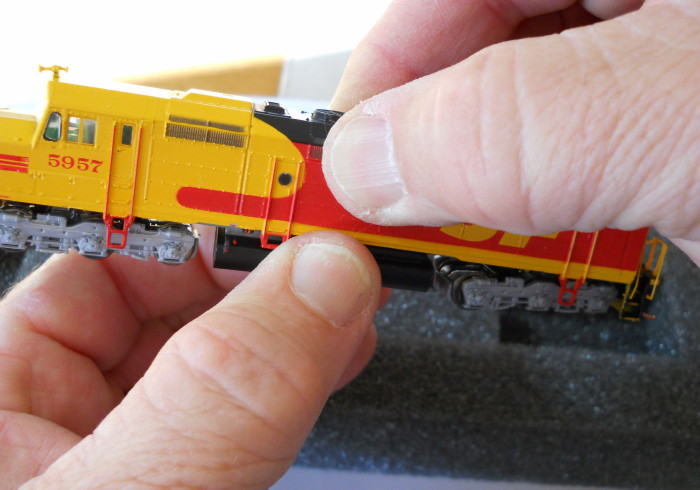
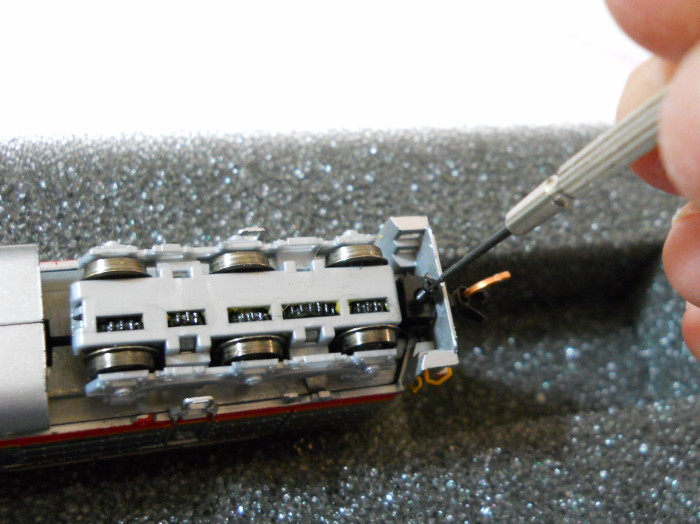
First we must remove the existing couplers and pockets so the shell can be removed.
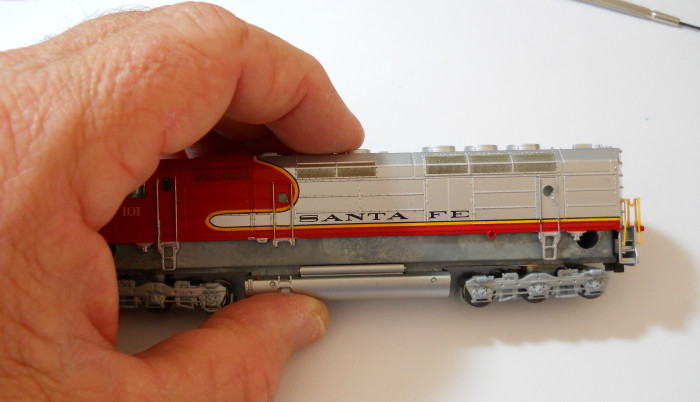
Next we need to gently pull up on the shell and hold on to the fuel tank to release the shell from the chassis.
Once the shell has been removed you need to remove the existing circuit board by grasping the front of the board and pulling forward and upward until is slides out. Then save it and set it aside.
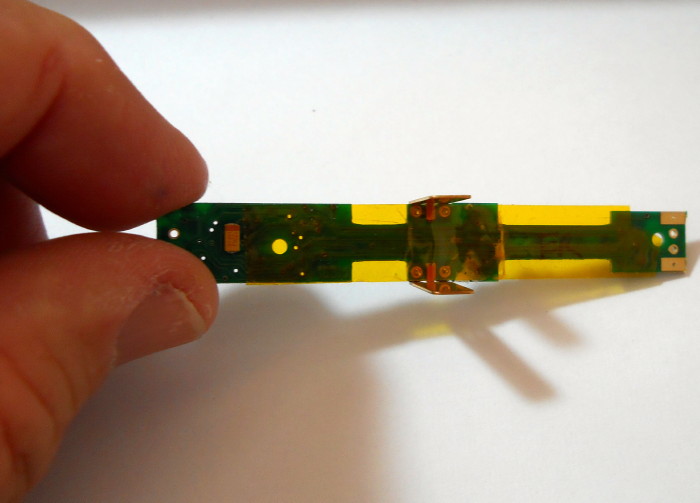
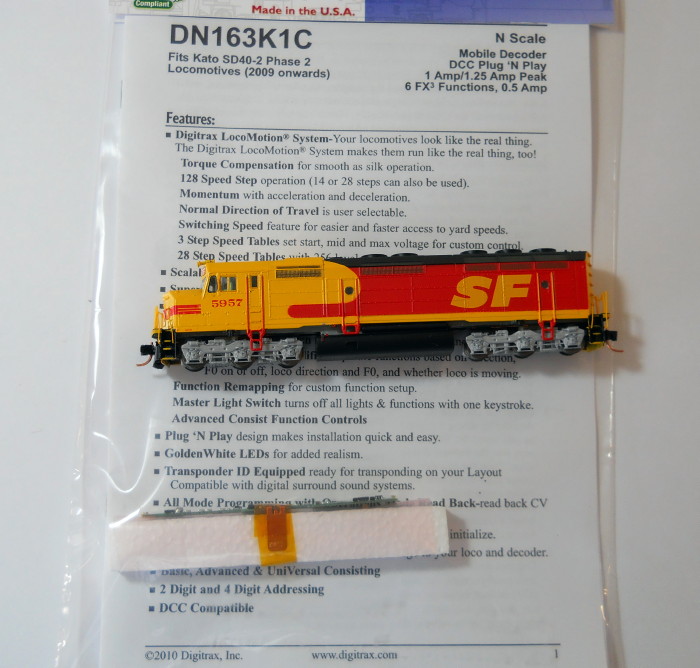
Now remove the DN163K1C from the package and carefully remove the supplied Kapton (yellow) tape from the decoder as we will use it next.
Now apply the Kapton tape to the entire underside of the decoder but not over the pickup tabs on the front of the decoder.
Now using a razor blade , hobby knife or scissors cut inward at the locations in the next picture and remove or fold over these cut tabs as shown. This is required for decoder to fit between the frame halves.
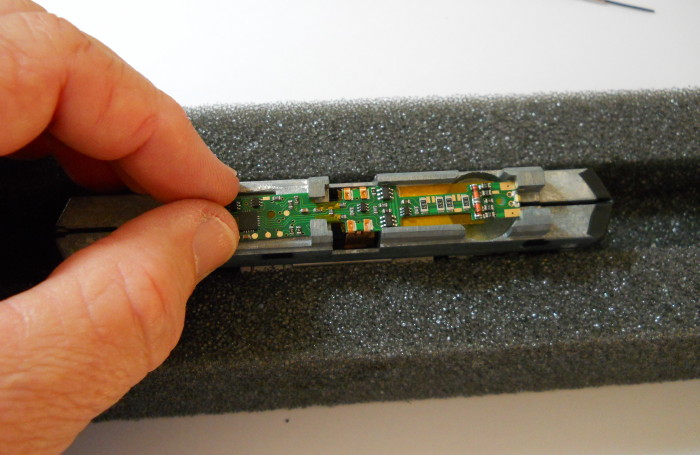
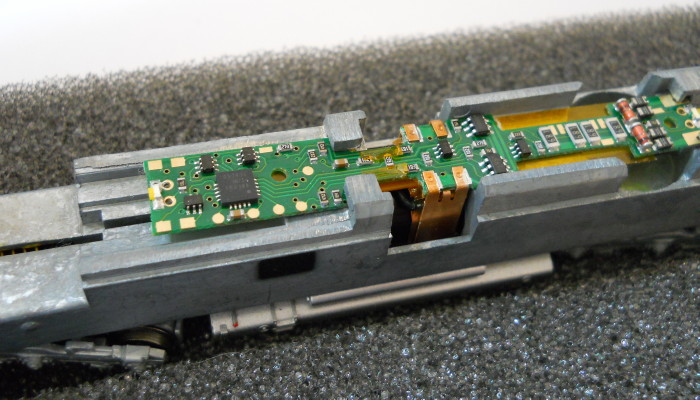
Now, with the pickup tabs facing the rear of the frame, slide the tabs on the decoder under the frame rails as shown and lay the decoder with its attached motor tabs down over the motor and onto the chassis.
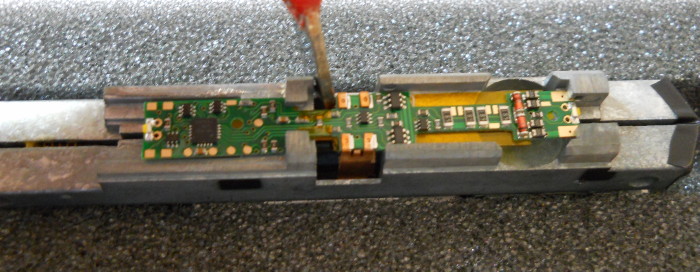
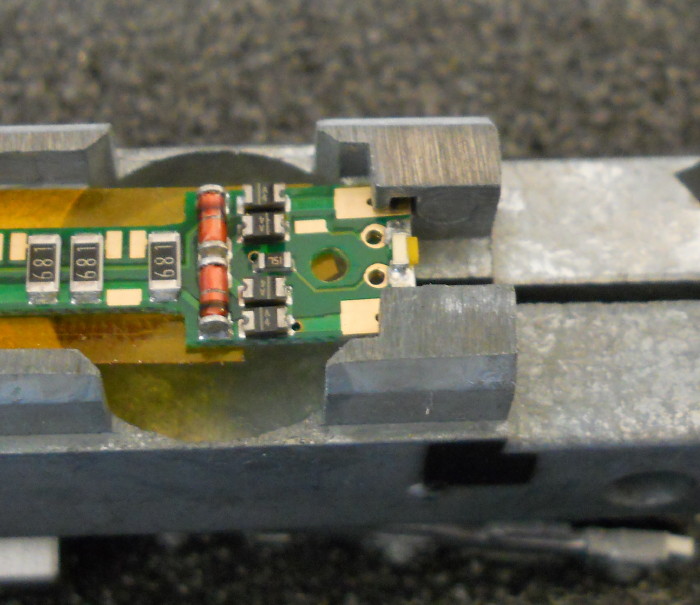
Now this part is just a slight bit tricky. With a larger flat blade screw driver, or in my case a cable striping knife, you will need to LIGHTLY pry or push the decoder backward to seat it all the way into the frame.
Now you are almost done and this is what it should look like.
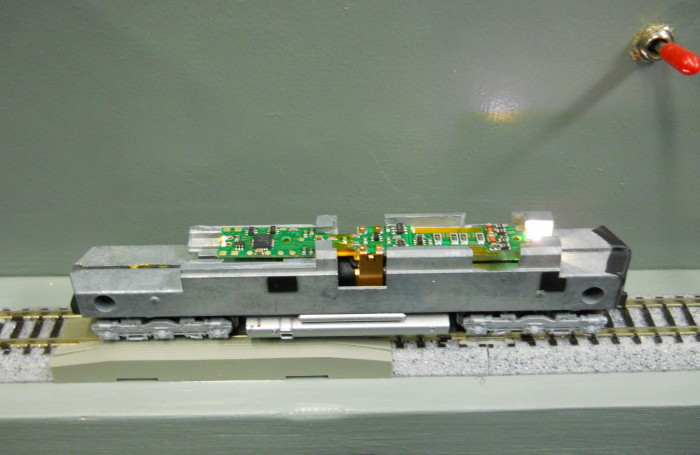
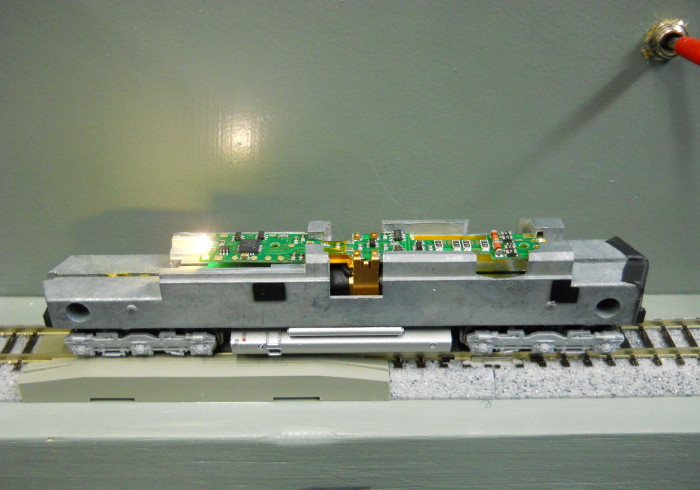
Now we need to program the decoder to reverse operation as the normal mode of running. Below is a picture of the chassis on the program track with throttle on address 03 and in forward direction and as you see the rear light is on.
As per above in the text one can set the reverse travel mode by accessing CV29 and making the proper settings or if you use Decoder Pro this is what and where you will do this in basic settings.
Now, after programming, this is what you should see if you did it correctly and the throttle is on 03 and forward.
If you were successful now it is time to re-install the shell by simply pushing and snapping it back in place over the completed chassis.
Now re-install the original couplers or take a moment to change to Micro-Trains 1015 couplers if you wish and re-use the original screws to affix either choice in couplers.
Now you have completed the installation of a top quality decoder into a top quality locomotive and both should serve you for years to come.
I hope this article was helpful and informative and as always I hope I have been able to pass on some model railroad knowledge in hopes to make this hobby more fun for all of us!!!!
Mike Fifer


