Article By Mike Fifer and the Albuquerque , Carnuel & Tijeras RR Copyright ©
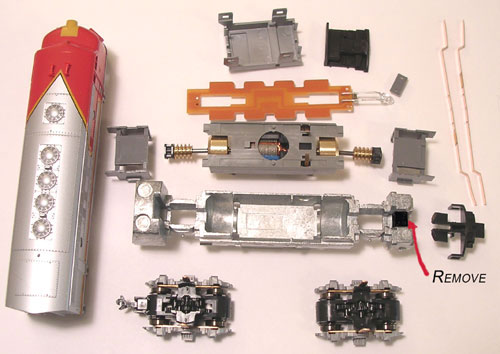
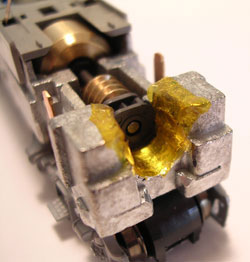
Step:1
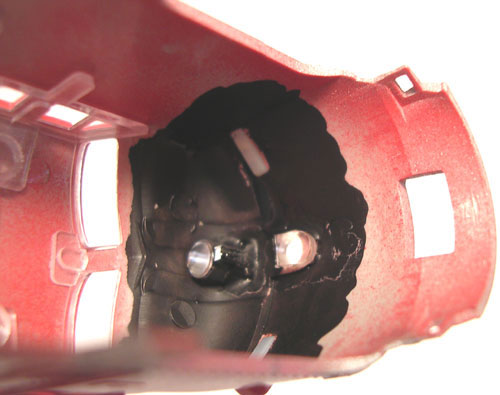
Remove shell and disassemble the loco , setting parts on table in the order they came off. You will be removing the metal in the frame shown in the photo.
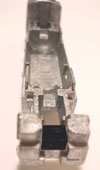
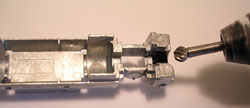
Step:2
Using a rotary tool or drill and small grinding bit , remove shown material all the way back to the front shaft cushion (do not damage the cushion mounting area).
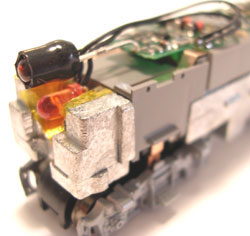
Step:3
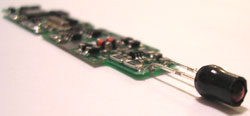
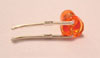
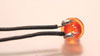
Install Heat shrink tubing over existing LED on the Digitrax DN163KOB . Bend and cut leads on another LED ( I used the ones off the DN163KOB’s in my B units) and solder small wire to the leads as shown.
You may use the existing LED as the upper Mars light and replace Lower head light LED with a Super White LED (as seen in Video Clip)
Step:4
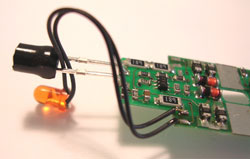
Solder wires (about 2”) you already soldered to the second LED to the F1 tabs on the DN163KOB. Install some of the Kapton Tape (yellow tape that came with the DN163KOB) into the slot you have cut in the frame . Reassemble the locomotive in reverse order of disassembly. Now install decoder as per the pictures and Digitrax instructions.
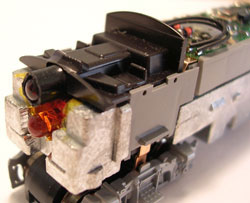

Step:5
Remove and cut in half the clear plastic headlight assembly on the F7 , reinstall and using white glue , on a toothpick , glue each back in the locomotive and paint the inside of the nose with black paint (being careful not to get paint on the surface of the inner lens.
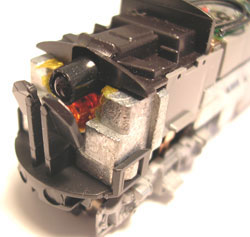
Step:6
Re-install the shell on the chassis and now program CV49 on the DN163KOB to the Mars Light (CV49 to X2 or 02) and CV51 to normal headlight ( CV51 to X8 or 08 for off in reverse) and now you have it!!!!
ENJOY !
