By: Mike Fifer
There are many of us out there using Kato Unitrack who sometimes wishes we could make our own track feeders. Some have resorted to soldering feeders to the bottom of the Kato unit track and some just purchase the Kato Unitrack feeders which are Kato’s part number 24 -818 but in the interest of saving a few dollars I have found a way to make my own feeders out of the standard Kato Unitrack joiners.
One of the advantages of doing so is that it allows you to extend your wire for long distances so many feeders can be added around the layout without a lot of splices in the wiring. It also allows you to use short pieces of thin wire if you are going down from the surface of the layout to a bus line run around the bottom of your layout.
Once your soldering iron is hot it only takes a few minutes to do several and of course we all know that the joiners come with each piece of track that you purchase. So let’s start doing our first one.
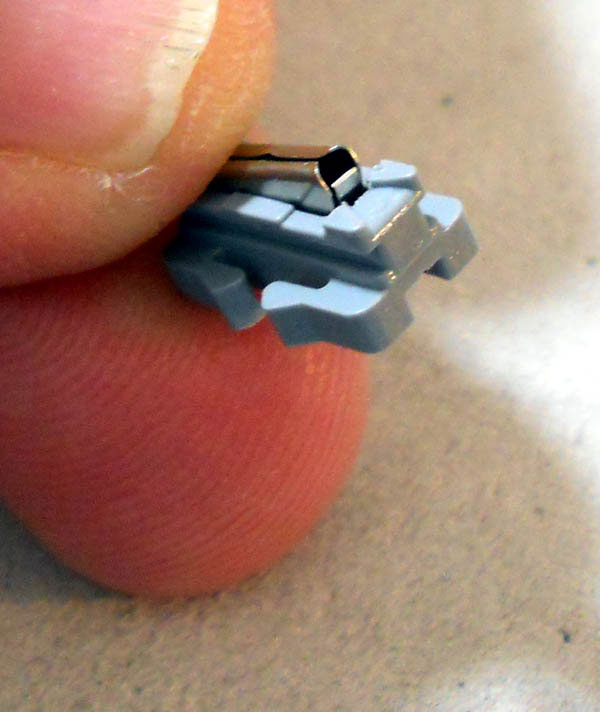
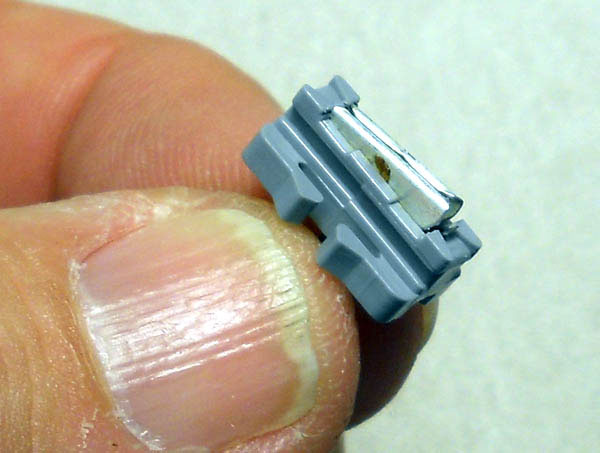
First we need to know how the unijoiner is constructed. It is a lower piece made of plastic that is actually considered to be the road bed joiner and an upper metal rail joiner which has two small tabs, one on each end, that hold it in the plastic road bed joiner. First you need to take the tip of an hobby knife (or similar small tipped tool) and slip it down inside one end of the joiner and using a rocking motion push into the metal joiner to dislodge it from the plastic.
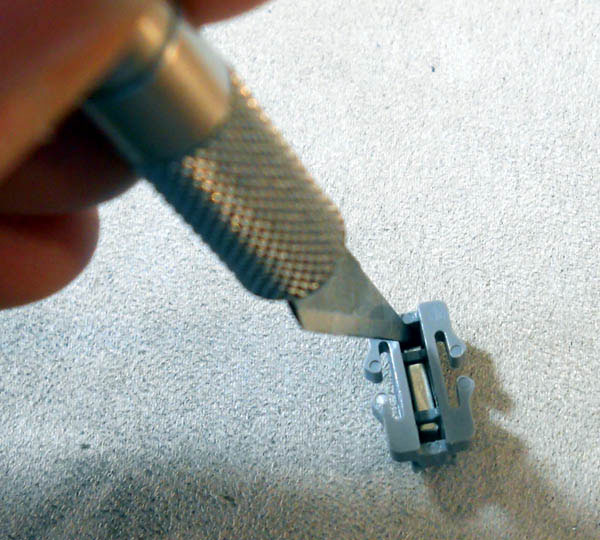
You can see in these pictures how the joiner pops out of one end and can now be pulled from the plastic road bed joiner.
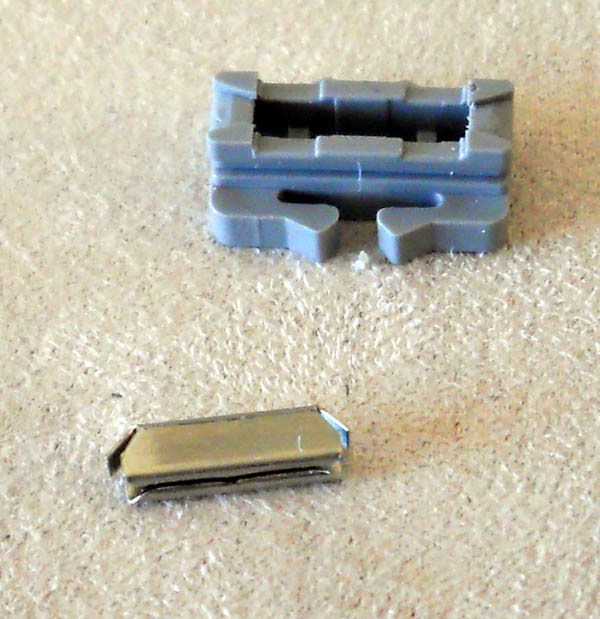
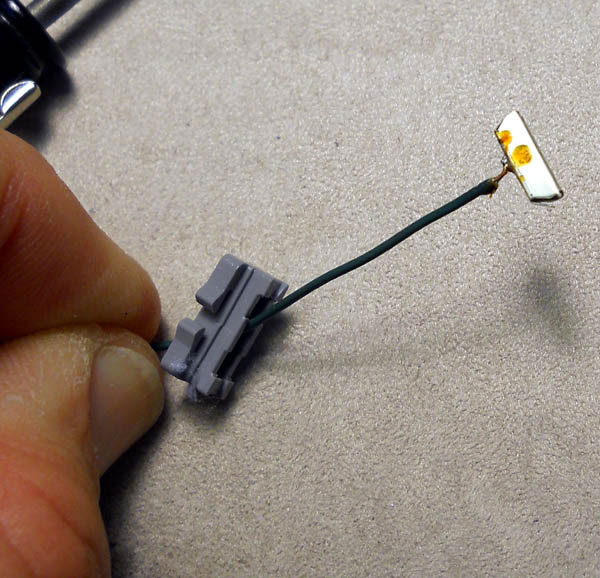
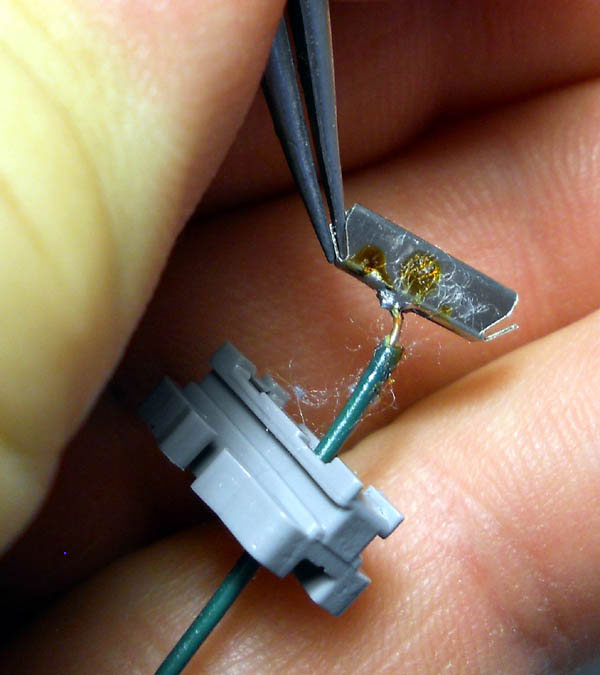
Once we have the metal joiner released from the plastic joiner we can get our appropriate length of wire and (sparingly) solder it to the center of the bottom of the metal rail joiner.
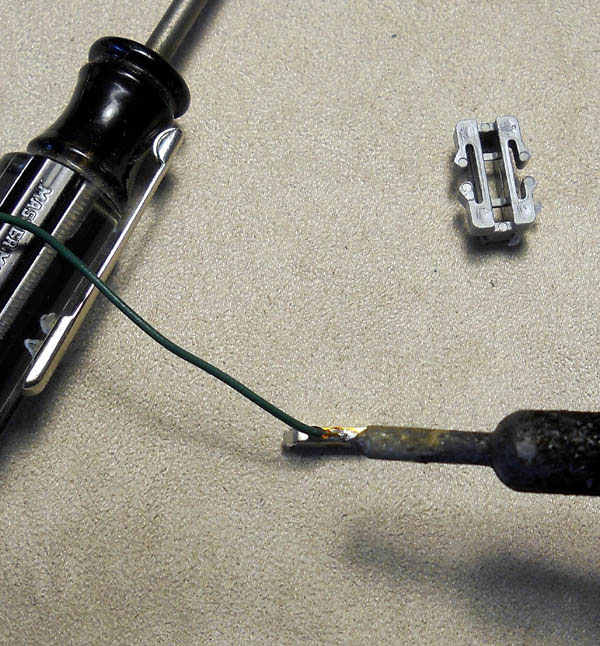
Once you have your wire soldered to the metal rail joiner you need to feed the wire down through the plastic track joiner from the topside and when you get the metal joiner close to snapping into the plastic track joiner you will want to stop at this point and take a moment to take some small tweezers and bend the tab on each end of the metal joiner outward slightly so that when you insert it into the plastic track joiner it will snap in place and stay there.
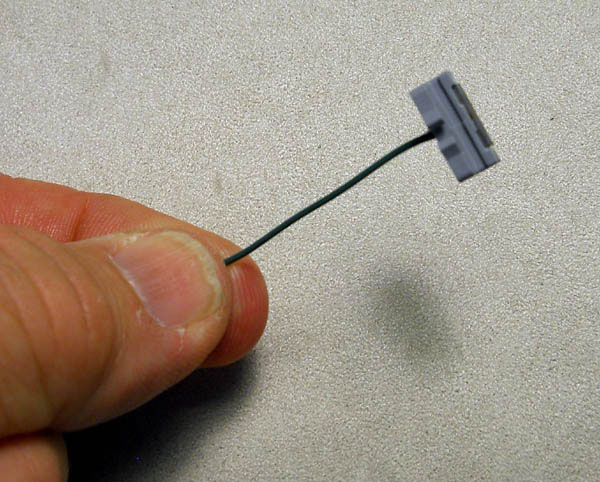
Once that is done grasp the plastic track joiner and pull down on your soldered wire until the metal joiner seats into the plastic track joiner.
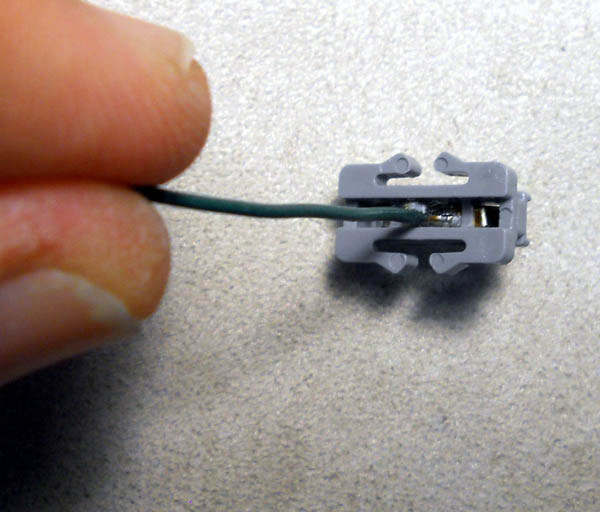
Now you have done it ! You have created your first handmade feeder joiner.
Once you have done this a couple of times you’ll become an expert and it will take you no time at all to make as many as you need to complete your layout and in the process save a few dollars.
