By Jim Wilson, Keystone State Railroad – “The Key to Industry”
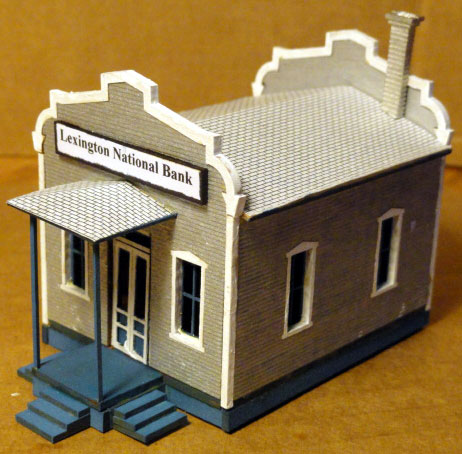
NE30021 Northeastern STS Kit First National Bank
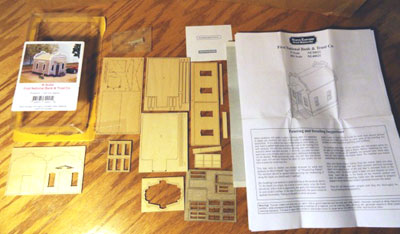
This is a laser cut kit that comes in a plastic bubble on a cardboard back. Great to see, but tough to get inside. Use a pen knife to cut around the edges and leave the bubble in tack. Great place to keep all the parts, glue and tools.
Instructions are 3 sheets, printed on both sides. Page 2 shows all the parts and layout on each sheet. There are 8 sheets. Be careful as the parts are fragile and can break easily.
Go to step 1 on page 3 and assemble the base assembly, parts B, B1 thru B8, also the steps, STP1, 2 & 3 with instructions under step 4 on Page 5. Set this aside.
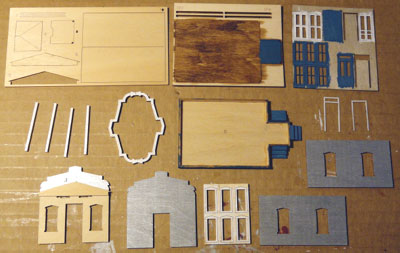
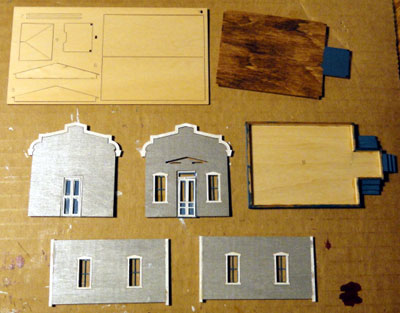
Painting is the next step. You will need three different colors, walls, base and trim. I selected silver walls, blue base, and white trim. Parts 1, 2, 3 & 4 are painted the wall color. The inside of 1 & 2 must be painted on the top, see photos. The base, steps, 7, bottom and sides of 8, edge of 9, edge of 10, edge of B9 and the front porch, and 14, 17 & 18 are the base color. The trim color is on CP 3 & 4, TR1 & 2, 11, 12, 13, 15, 16 & 19. Be sure to get all edges and inside the window openings. It may be necessary to have two coats for the edges which suck up paint. I also stained the inside floor, but not necessary .
Go to page 2 and assemble the doors and windows. Use a toothpick to place some of the glue on narrow parts. Now glue all these parts in place. Do not glue on parts TP 1 & 2 as shown in my photo, but follow the printed instructions.
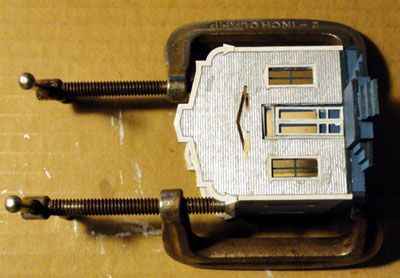
At the assembly of the building and base, you might find they are slightly warped due to the paint. See Photo to clamp before installing the roof.
Page 4 shows basic assembly. Before gluing on the roof sections, glue on the shingles leaving just a 1/32 inch space between the roof sections. This way the roof will be a solid piece. Again do the same thing for part 9, but do not cover the slot that fits into the building. You can make the shingle paper larger than necessary and trim with a knife.
I used a word processor to make my signs so you personalize them.