By: Mike Fifer
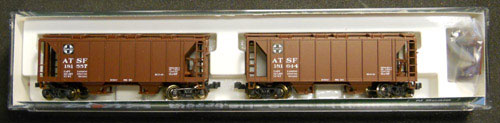
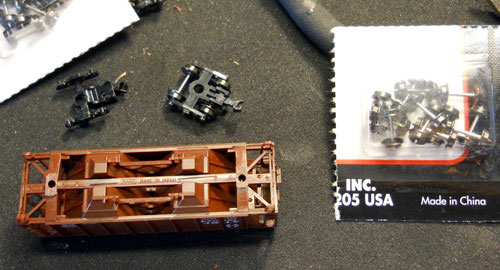
This is how the Kato hoppers came packaged and we will show you how to put Micro-Trains trucks on these cars and the same method works on many other brands.
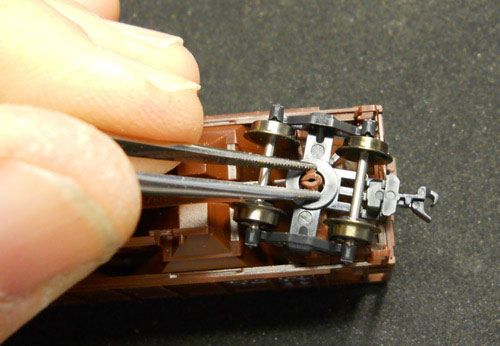
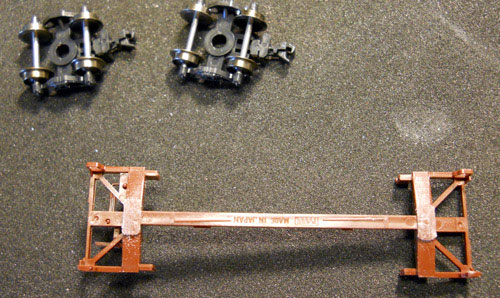
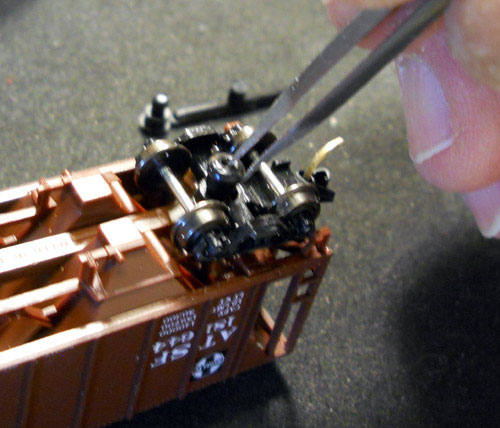
We need to start by removing the Kato trucks and this is done by taking a small pair of tweezers and pinching the two pins together and use your other hand to lift truck upward and the trucks should come right off.
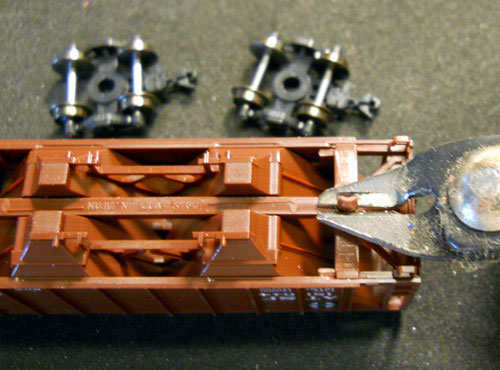
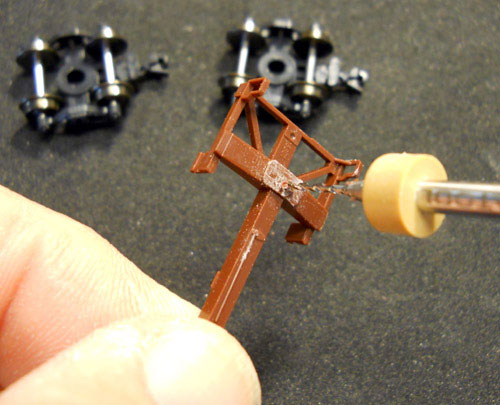
After removing the trucks I take flush cut pliers and snip off the bolster tabs. After the tabs are snipped off I took the end of the small screwdriver and lightly pry up on the truck bolster and pop it off the car. Once it’s off the car I take a nail file and filed the bolster flat.
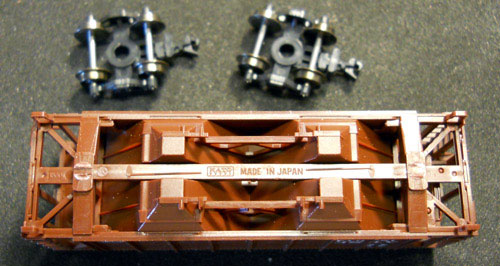
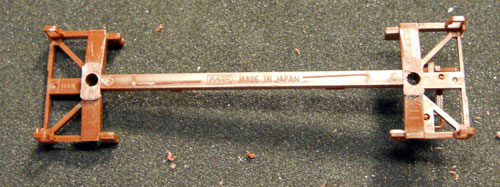
The frame and bolster should now look like this.
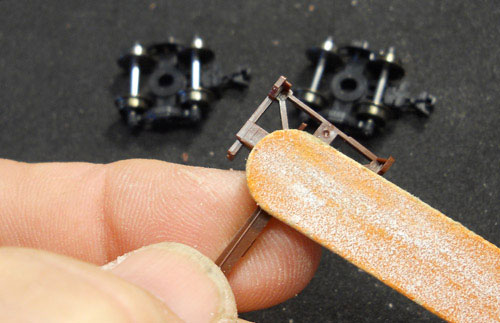
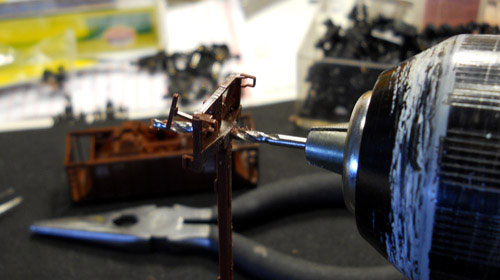
Now I take a small drill bit (I used a number 62) to drill a small pilot hole in the exact center of the bolster to use as a guide for the larger drill. I then use a number 47 drill bit in my cordless drill and drill completely through at each end.
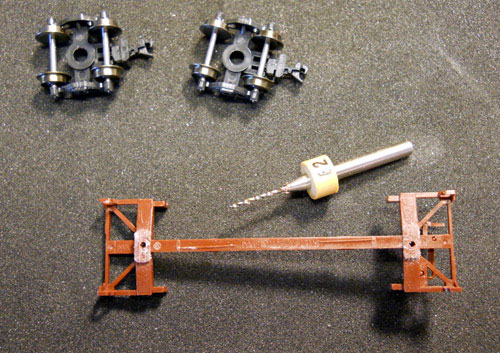
At this point this is what the frame should look like.
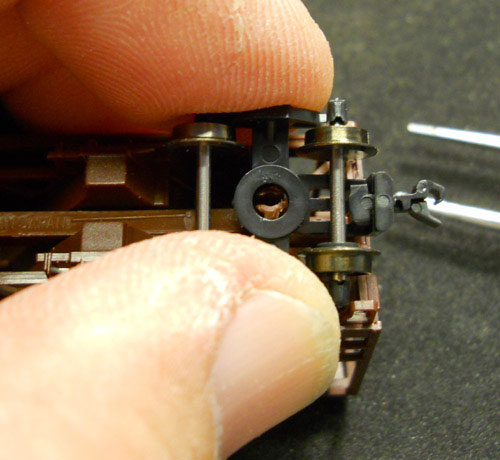
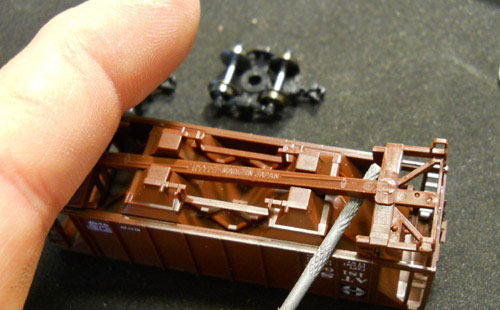
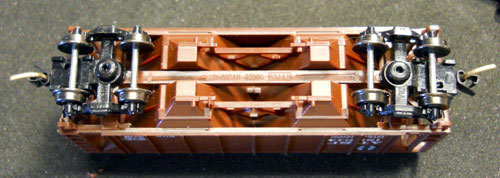
We now need to reinstall the frame back onto the car and on this particular car you can see that the brake rigging goes in the end of the car that has a slot in the bracing on the car body. The frame should just snap in at both ends.

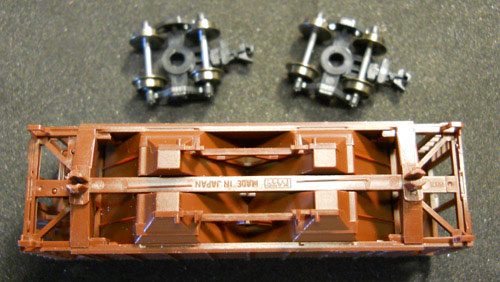
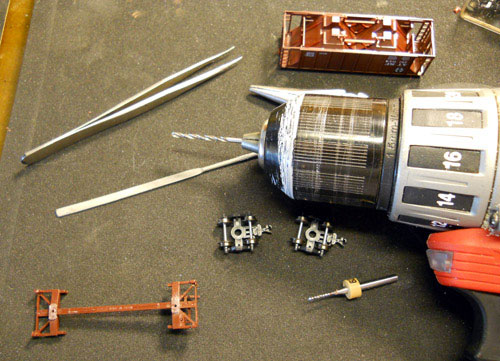
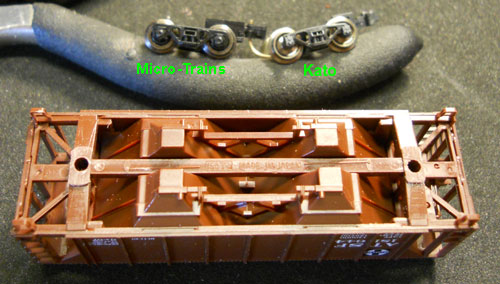
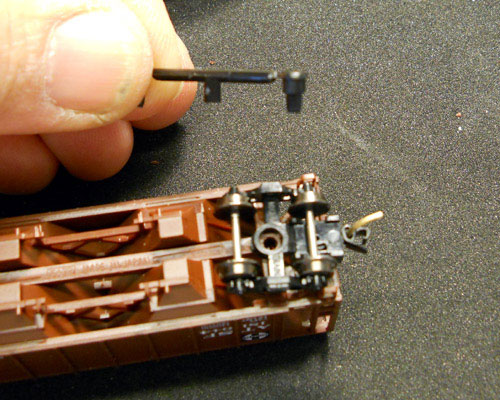
I have chosen to use Atlas 33 inch wheel sets on the Micro-Trains trucks to give this very light car some weight low on the car , so they are installed at this time. Also in the picture below you can see what the Micro-Trains roller bearing trucks look like compared to the Kato truck on the right. You can see that there’s not a lot of difference in the looks or the quality of the truck but the Micro-Trains coupler is much better suited for automatic switching using magnets. The Kato wheel sets DO NOT fit the Micro-Trains trucks.
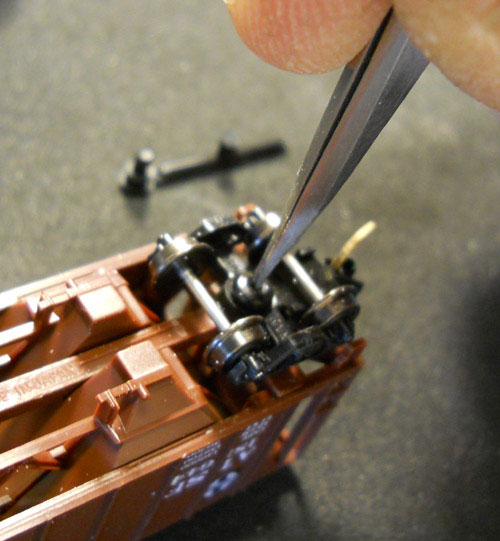
We will now install the Micro-Trains truck using the pictured pins. I place the truck on the bolster then start the pin into the hole using small tweezers and then press the pin the rest of the way down with the tweezers.
Once you have done both trucks you are nearly done but we need to remember two final steps that most people overlook. They are checking coupler height and trip pin height and wheel gauges using an NMRA gauge. This will always prevent possible aggravation with coupler operation or derailments in the future.
It is always a good idea to give the coupler boxes a small shot of powdered graphite as well.
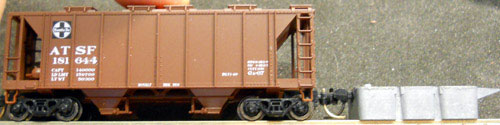
Now all you need to do is take the car to your layout and start to enjoy its new found performance.
Almost all other cars on the market can use a similar method as this. Some cars are easier and already have a hole into which the pin fits and some are slightly more complicated requiring the drilling a hole such as this car. Once you have done this you should be able to do any car out there.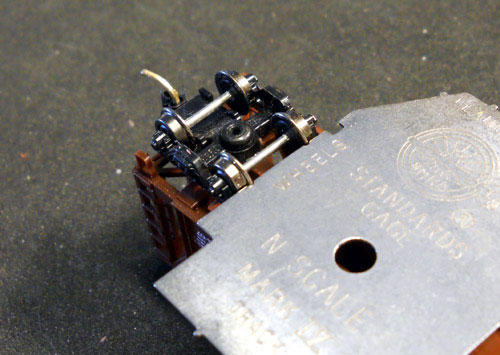
